

Force plates have become one of the most valuable tools in sports performance.
They can tell us how an athlete produces force, "absorbs" (i.e. attenuates) force, changes direction, and even how fatigue may be affecting performance.
Yet many coaches open their force plate software for the first time and immediately feel overwhelmed.
The good news is that you don't need to understand every metric on day one.
In fact, I think there's a much better place to start.
Learn the six phases of the countermovement jump (CMJ) first.
Once you understand what happens during each phase, every force plate metric suddenly has context. Instead of memorizing definitions, you'll begin understanding why each metric exists and what it actually tells you about your athlete.
In my opinion, the phases are one of the best entry points into force plate analysis.
Lets walk through them, in simple language.
The CMJ Is Simply a Sequence of Six Events
Think of the countermovement jump like a story.
Every jump follows the same sequence:
- Weighing
- Unweighting
- Braking
- Propulsion
- Flight
- Landing
Each phase has a specific purpose and provides different information about athletic performance.
Phase 1: Weighing
What happens?
The athlete simply stands still before initiating the jump.
That might sound unimportant, but it is actually one of the most critical parts of the test.
The force plate uses this period to determine body weight. Everything that follows is calculated relative to this value.
If the athlete is fidgeting, shifting their feet, or bouncing before they jump, many of the calculations become less accurate.
Think of it this phase as calibrating the entire assessment.
Coaching Key ⮕ Always have athletes stand still for at least one second before moving.
Phase 2: Unweighting
Now the athlete begins lowering into the countermovement.
As they descend, the force applied to the ground briefly becomes less than body weight.
Why? Because the athlete is accelerating downward.
This creates the characteristic "dip" in the force-time curve.
The larger and faster this downward movement becomes, the more momentum must eventually be stopped.
Think of this phase as loading the spring.
Questions coaches can ask ⮕ Does the athlete descend too slowly? Are they creating enough momentum before reversing direction?
Phase 3: Braking
Eventually the athlete must stop moving downward.
This is the braking phase.
The athlete now produces forces greater than body weight to decelerate their center of mass before changing direction.
In this phase you'll find metrics like eccentric peak velocity, peak eccentric force, braking impulse, braking RFD, etc. [Not every metric matters but we'll cover that in greater depth later]
All of these describe how effectively an athlete can "absorb" force and reverse momentum; some may call this "eccentric" ability.
Think of this phase as putting the brakes on before changing direction.
Bonus Phase: Transition Point
The moment between braking and propulsive is known as the transition or amortization point / phase. This is the split second where the athlete is not moving down or up at the bottom of the countermovement.
While this is not technically a phase, some metrics like force at zero velocity gives us insight into how the athlete manages this transition.
Phase 4: Propulsion
Once the athlete has completely stopped moving downward, it's time to go up.
This is the propulsion phase.
Now the goal becomes producing as much upward impulse as possible before leaving the ground.
Most coaches naturally focus on this portion because it's where athletes "push," and is directly proportional to jump height.
But remember, great propulsion is often set up by what happened during the braking phase.
A poor transition into propulsion usually limits jump performance.
Think of this phase as turning force into upward velocity.
The propulsive phase is the payoff, but it's built on everything that came before it. A well-executed unweighting and braking phase set the stage for an explosive takeoff.
Phase 5: Flight
The athlete leaves the ground.
Nothing new can happen here from a force production standpoint because there is no longer contact with the force plate.
This phase simply reflects everything that happened beforehand.
Jump height / Flight time / Takeoff Velocity
These are outcomes.
They're important, but they don't explain how the athlete achieved them.
That's why force plates are so valuable. Two athletes can jump the same height while using very different movement strategies.
Phase 6: Landing
Every jump ends with a landing.
Landing tells us how an athlete absorbs force after impact.
The landing can technically be broken down into 3 phases, but don't worry about that for now; lets get the basics down first.
Some athletes land softly and smoothly. While others produce extremely large impact peaks because they land stiffly.
Depending on your goals, landing metrics can provide insight into movement strategy, rehabilitation, and readiness.
Why These Phases Matter
One of the biggest mistakes coaches make is focusing on jump height alone.
Jump height tells you the outcome.
The six phases explain how the athlete produced that outcome.
Imagine two athletes who both jump 20 inches.
One creates a massive braking impulse before exploding upward.
The other spends much longer on the ground and relies on a slower force application strategy.
Same jump height; very different neuromuscular profiles.
Without understanding the phases of the jump, those differences remain hidden.
And metrics create more confusion that clarity.
Where Should Coaches Start?
If you're new to force plates, don't try to learn 100 metrics.
Start with the phases instead.
Learn to identify:
- Where each phase begins and ends.
- What the athlete is physically trying to accomplish during that phase.
- Which performance qualities each phase represents.
Once you understand that framework, metrics become much easier to interpret.
Want to go deeper?
Understanding the phases of the CMJ is just the beginning.
In Jumping with Force Plates, we break down every key metric, teach you how to interpret force-time curves, and show you how to turn data into better coaching decisions.
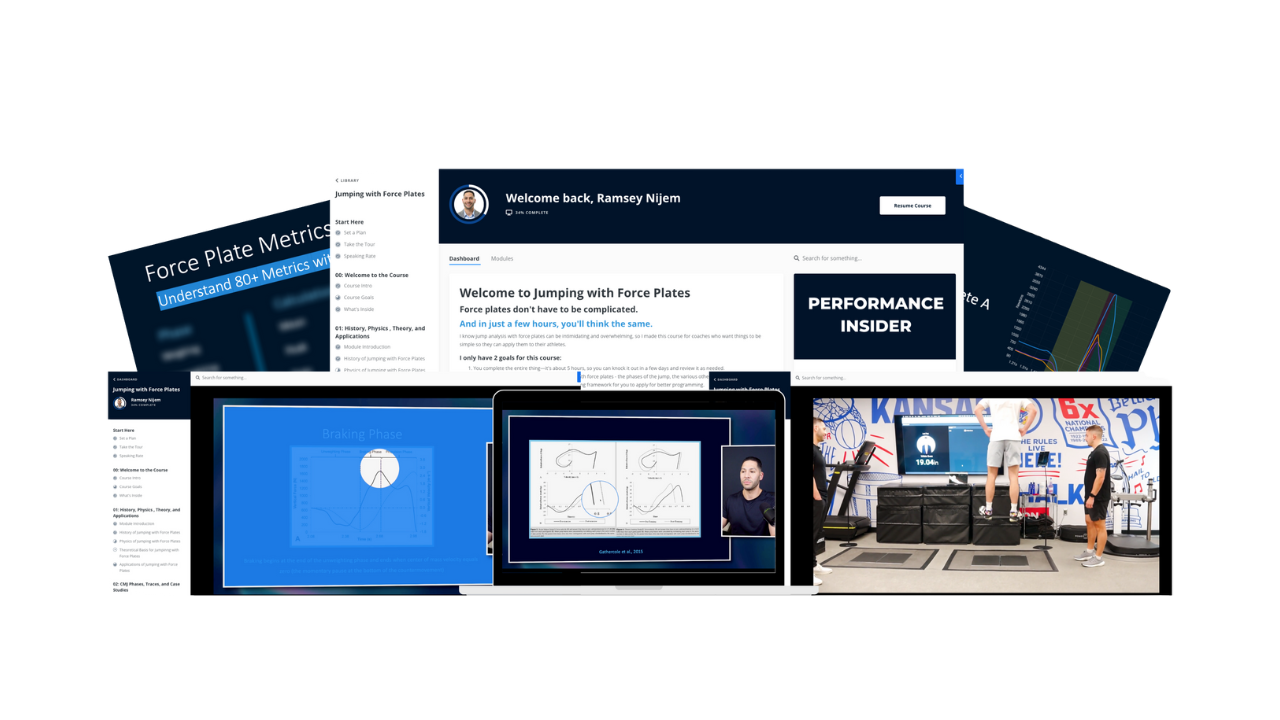
The Simplest and Fastest Way to Learn Jump Analysis with Force Plates
I hope this helps,
Ramsey


